
How to install Kodi Leia on Windows
There are two ways to install Kodi on Windows. One is through the Windows Store and the other is downloading Kodi directly from Kodi.tv
The easiest way to typically install Kodi on Windows 8 & 10 is from the Microsoft Store. For earlier versions of Windows, or if you don’t want to install Kodi from the Microsoft store you will have to use method two to download and install it. Kodi 17 and 18 will only work on Windows versions 7 and up.
Method 1: Install Kodi from Microsoft Store
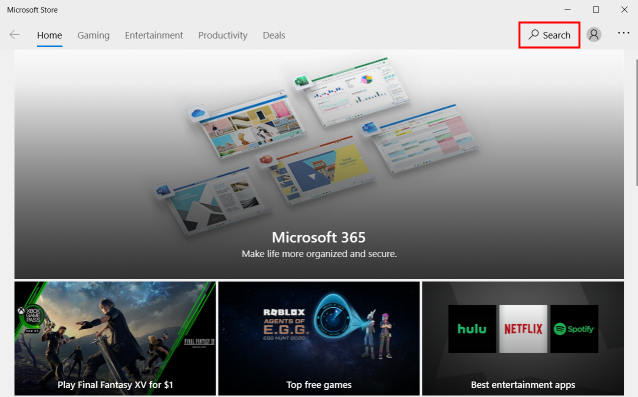
1. Open the Microsoft Store and click on the Search Button.
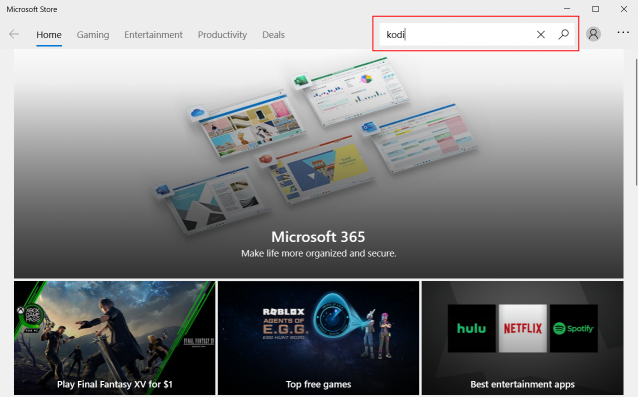
2. Type Kodi in the Search box.
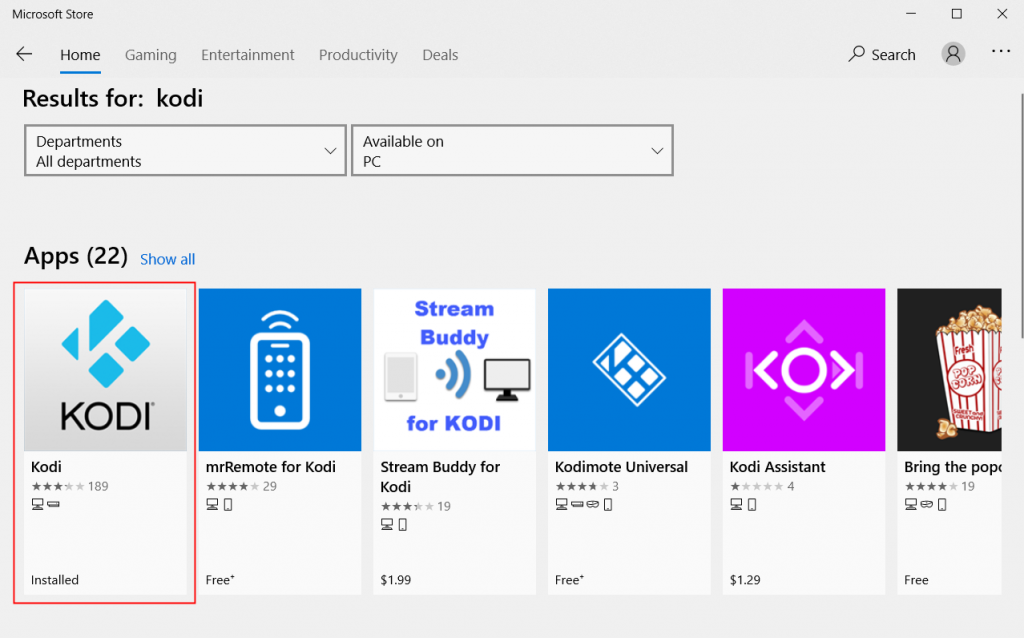
3. On the search results page click on the Kodi app.
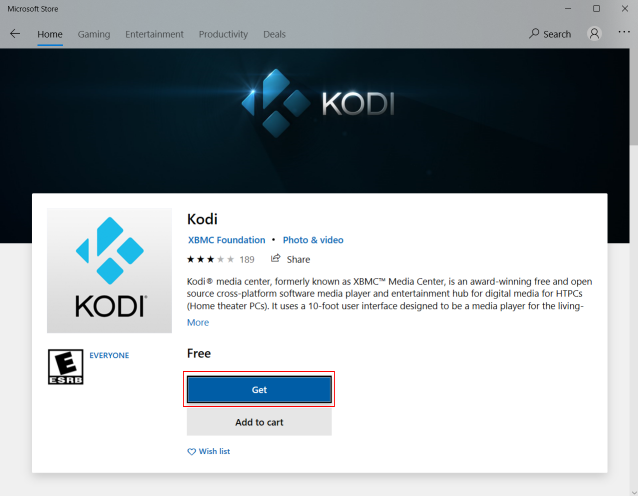
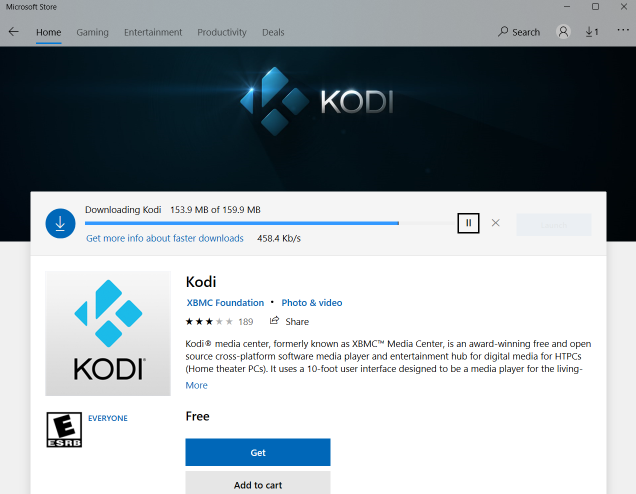
4. You will see a details page about Kodi. Click on Get.
5. Kodi will now start downloading and install.
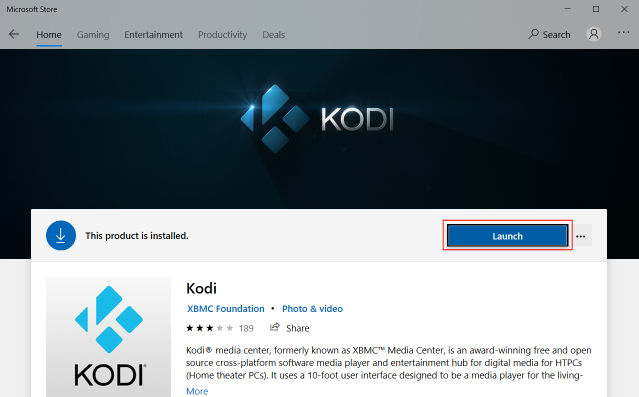
6. Once Kodi is installed you can click on the Launch button and Kodi will open. You are now ready to use Kodi. Enjoy!
Method 2: Install Kodi from Kodi.tv
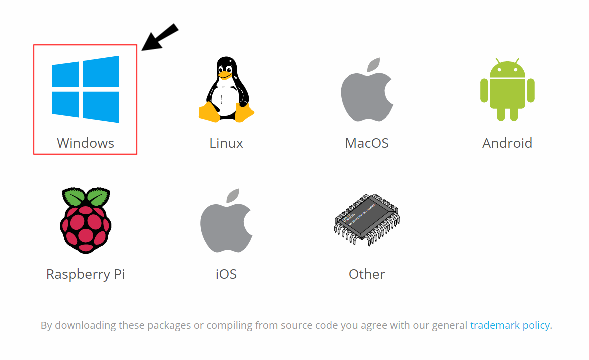
1. Go to the kodi.tv/download page and scroll down to the “Choose your weapon” section. Click on the Windows logo.
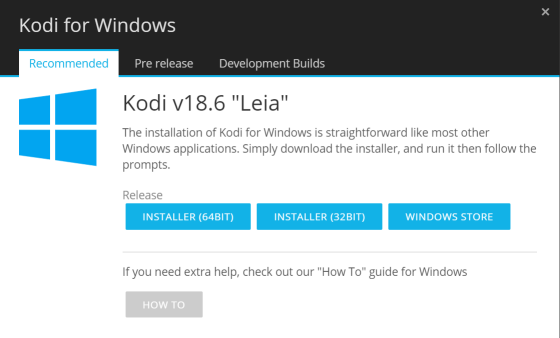
2. On the Kodi for Windows page Click on the version of Windows you have. Either “Installer (64BIT) ” or “Installer (32BIT)”.
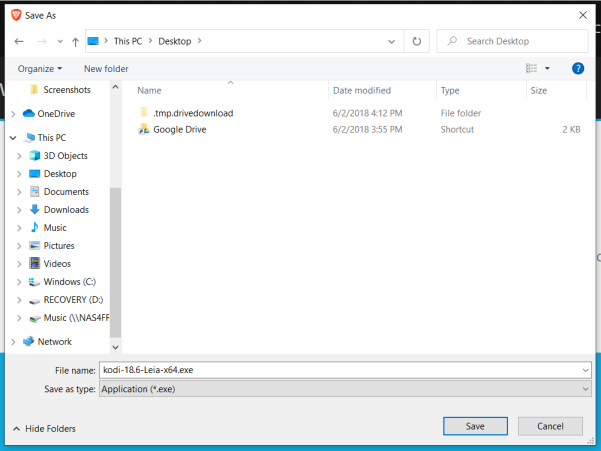
3. The Save As window will display. Save the Kodi Installer in a folder of your choice.
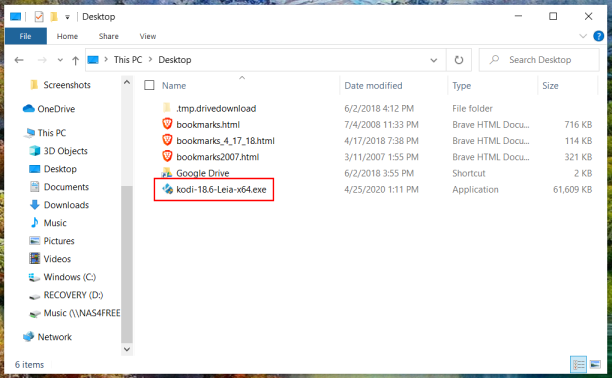
4. Once Kodi is downloaded open the folder where you saved it and double click it.
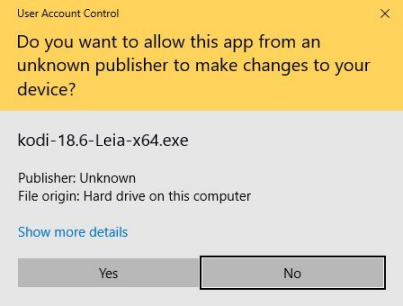
5. The User Account Control window will display. click Yes.
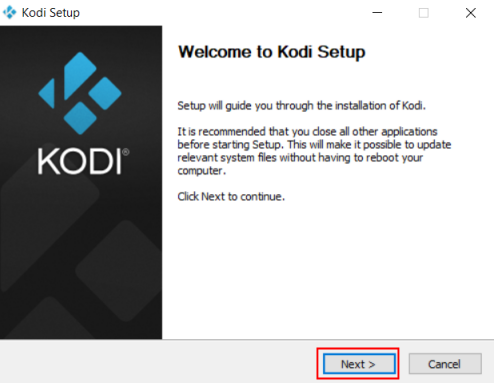
6. On the Welcome to Kodi Setup Window, click Next.
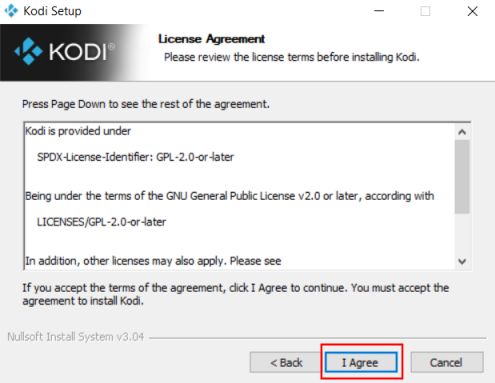
7. On the Licence Agreement window, click I Agree.
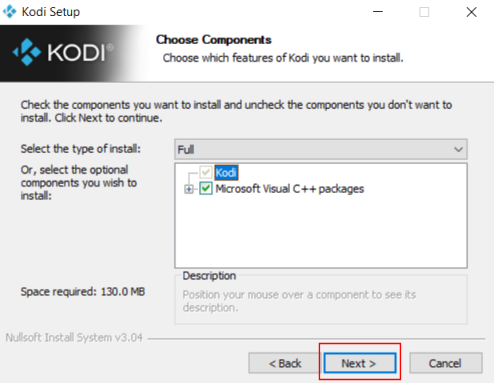
8. On the Choose Components window, click Next.
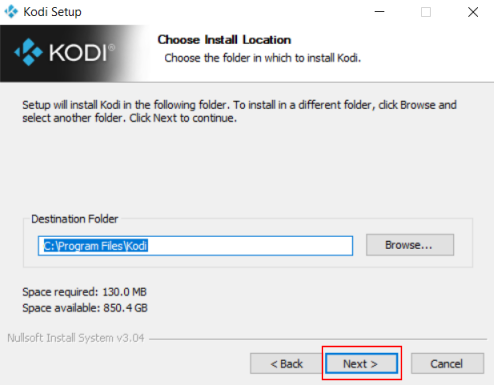
9. On the Choose Install Location window, click Next.
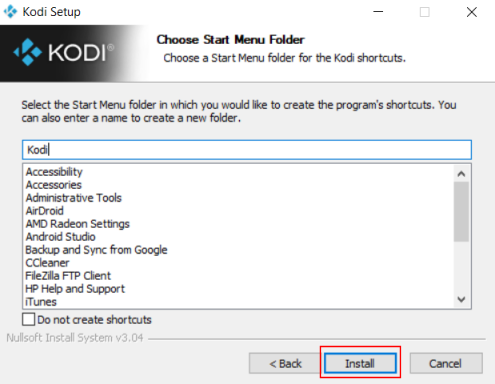
10. On the Choose Start Menu Folder window, click Install.
Congratulations! You just installed Kodi for Windows. Enjoy!


